
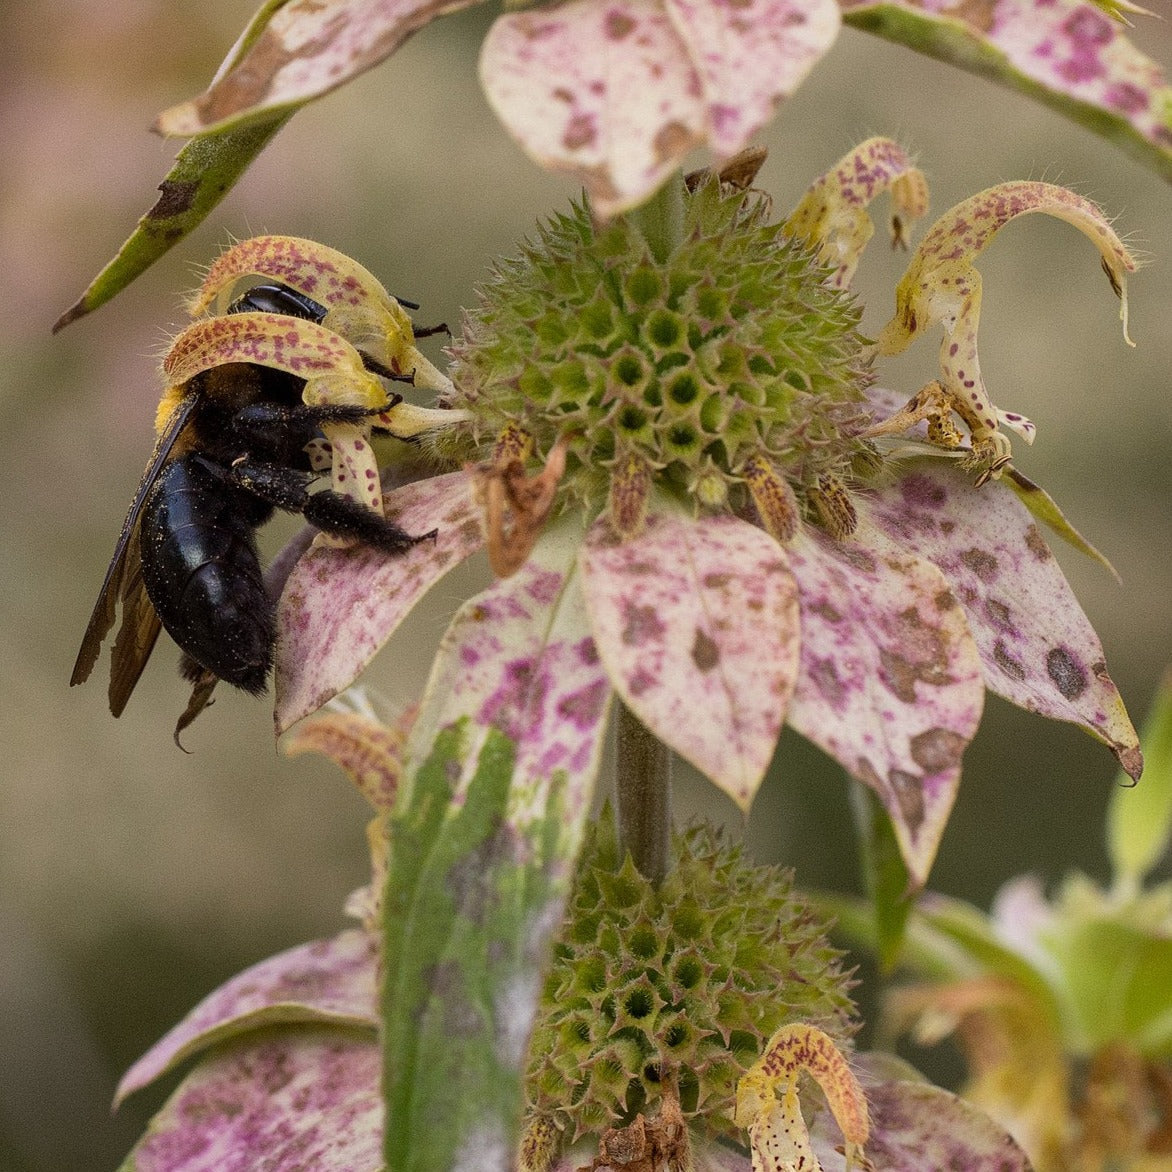
How to Grow Bee Balm from Seed
Bee balm is a colorful, pollinator-friendly perennial that can bring hummingbirds, butterflies, and bees to the garden. The name commonly refers to plants in the Monarda genus, including scarlet bee balm (Monarda didyma) and wild bergamot (Monarda fistulosa). Growing bee balm from seed is an economical way to add these aromatic flowers to a garden or meadow.
Choosing Bee Balm Seeds
Choose seeds suited to your growing conditions and intended planting site. Bee balm species and varieties differ in flower color, height, hardiness, and preference for moisture. Native species can be especially useful in wildlife gardens, but check that the species is appropriate for your region.
Seeds collected from named cultivars or hybrid plants may not produce seedlings that look like the parent. For consistent flower color or form, purchase seeds from a reliable supplier or propagate the cultivar by division.
When to Sow Bee Balm Seeds
Bee balm seeds can be started indoors about six to eight weeks before the last expected spring frost, or sown outdoors after the danger of frost has passed. Another option is to sow seeds outdoors in fall, allowing winter conditions to provide natural exposure to cold and moisture.
Cold stratification is not required for every bee balm seed, but a period of moist, cold conditions may improve germination for some species or seed lots. Follow the supplier’s instructions when available.
How to Start Seeds Indoors
- Fill clean seed-starting trays or small pots with a moistened, well-draining seed-starting mix.
- Scatter the seeds over the surface and press them gently into the mix. Bee balm seeds generally germinate best when exposed to light, so cover them only very lightly—or not at all.
- Keep the growing medium evenly moist, but not waterlogged. A clear cover can help retain humidity until seedlings emerge.
- Place the trays in a bright location. A grow light can help prevent seedlings from becoming leggy.
- When seedlings have several sets of true leaves, transplant them into individual pots. Harden them off gradually before planting them outdoors.
Germination time varies with the species, seed freshness, and growing conditions. Keep the soil consistently moist and give the seeds time to sprout.
Direct Sowing Outdoors
Choose a site with full sun or light afternoon shade and soil that drains well. Loosen the surface of the soil, scatter the seeds, and press them in lightly. Water gently so the seeds remain in place. Keep the area moist while seedlings become established, and thin crowded plants as needed.
Care for Young Bee Balm Plants
Water young plants regularly, especially during dry spells. Once established, many bee balm plants need less frequent watering, though their moisture needs vary by species and site. Good air circulation helps reduce powdery mildew, a common issue in crowded or humid conditions. Space plants according to the seed packet or nursery guidance, and remove weeds while seedlings are small.
Bee balm usually flowers after it has had time to grow and establish. Bloom timing depends on the species, climate, and planting date. After flowering, leave some seed heads in place if you want plants to self-sow or provide food and cover for wildlife.
Saving Bee Balm Seeds
To collect seeds, let the flower heads dry on the plant. When the seed heads are brown and crisp, cut them on a dry day and shake them over a clean container. Separate the seeds from the dried plant material, then store them in a labeled paper envelope in a cool, dry place.
Keep in mind that seedlings from collected seed may differ from the original plant, especially if it is a hybrid or grows near other bee balm varieties.
A Rewarding Plant for Pollinators
With proper seed placement, steady moisture during germination, and a sunny, well-drained site, bee balm can become a lively addition to a perennial border, pollinator garden, or naturalized planting. Its bright flowers and aromatic foliage make it appealing to gardeners and beneficial visitors alike.
Bee Balm Seeds: 8 Frequently Asked Questions About Planting, Germination, and Care
- When is the best time to plant bee balm seeds?
- Do bee balm seeds need cold stratification before planting?
- How deep should bee balm seeds be planted?
- How long do bee balm seeds take to germinate?
- Can bee balm seeds be sown directly outdoors?
- How much sunlight do bee balm seedlings need?
- When do bee balm plants grown from seed bloom?
- How do you collect and store bee balm seeds?
When is the best time to plant bee balm seeds?
The best time to plant bee balm seeds depends on how you plan to start them. Sow seeds indoors about six to eight weeks before your area’s last expected spring frost, then transplant seedlings outdoors after the danger of frost has passed. You can also sow seeds directly in the garden in spring once the soil is workable, or in fall so winter conditions can provide natural cold exposure. Follow the seed packet for species-specific guidance.
Do bee balm seeds need cold stratification before planting?
Bee balm seeds generally do not require cold stratification, though a period of cold, moist conditions may improve or even out germination for some species or seed lots. Check the seed packet for specific guidance. If stratification is recommended, mix the seeds with a slightly moist growing medium and refrigerate them for the stated period, or sow them outdoors in fall so winter conditions provide natural chilling. When planting, press seeds onto the soil surface or cover them very lightly, since light can help with germination.
How deep should bee balm seeds be planted?
Bee balm seeds should be planted very shallowly because they need light to germinate. Scatter them on the surface of moist seed-starting mix or garden soil, then press them gently into place. If desired, cover them with only a thin dusting of fine soil or vermiculite—about 1/8 inch deep. Keep the soil evenly moist until the seeds sprout.
How long do bee balm seeds take to germinate?
Bee balm seeds typically germinate in about 10 to 40 days, though timing varies by species, seed freshness, and growing conditions. Keep the seed-starting mix evenly moist and place seeds on the surface or cover them only lightly, since light can help with germination. Some seeds may take longer, so continue caring for the seed tray before assuming they won’t sprout.
Can bee balm seeds be sown directly outdoors?
Yes, bee balm seeds can be sown directly outdoors. Plant them in spring after the danger of frost has passed, or sow them in fall so winter conditions can provide natural cold exposure. Scatter seeds on loose, well-drained soil and press them gently into the surface; cover them only lightly, since light can help with germination. Keep the soil consistently moist until seedlings are established, and thin crowded plants as they grow.
How much sunlight do bee balm seedlings need?
Bee balm seedlings need plenty of bright light—ideally about 6 hours of direct sunlight each day. If starting seeds indoors, place them in a sunny window or under a grow light for 12 to 16 hours daily, keeping the light close enough to prevent seedlings from becoming leggy. Outdoors, choose a sunny spot; in hot climates, a little afternoon shade can help protect young plants from stress.
When do bee balm plants grown from seed bloom?
Bee balm plants grown from seed typically bloom in their second year, after they have had time to establish strong roots and foliage. If seeds are started early indoors or sown outdoors at the right time, some plants may flower in their first year, but bloom timing varies by species, variety, climate, and growing conditions. Give young plants plenty of sunlight, consistent moisture, and time to mature.
How do you collect and store bee balm seeds?
To collect bee balm seeds, leave the flower heads on the plant until they turn brown and dry, then snip them on a dry day. Hold each head over a clean container and gently shake or rub it to release the small seeds; remove as much dried plant material as possible. Spread the seeds out to air-dry completely for several days, then place them in a labeled paper envelope or airtight container and store them in a cool, dark, dry location. Keep them away from heat and moisture, which can reduce viability.